ELEARNING TUTORIAL—ADVANCED
Let's build and view some output to see how our additions and changes look and work.
[Menu Proxy — Headings — Online — Depth3 ]
How to Build and View the Combination Course
-
Open the Combination-Course target.
-
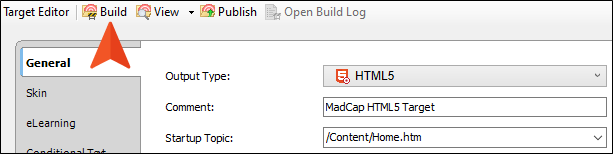
In the local toolbar, click Build.

-
In the Builds window pane at the bottom of Flare, double-click the row when you notice that it has finished building successfully (a dark green cell is shown).


How to Review the Combination Course Output
Let's go through the course in the output to see all of the additions and changes that we've made in this tutorial.
-
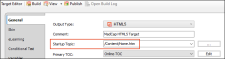
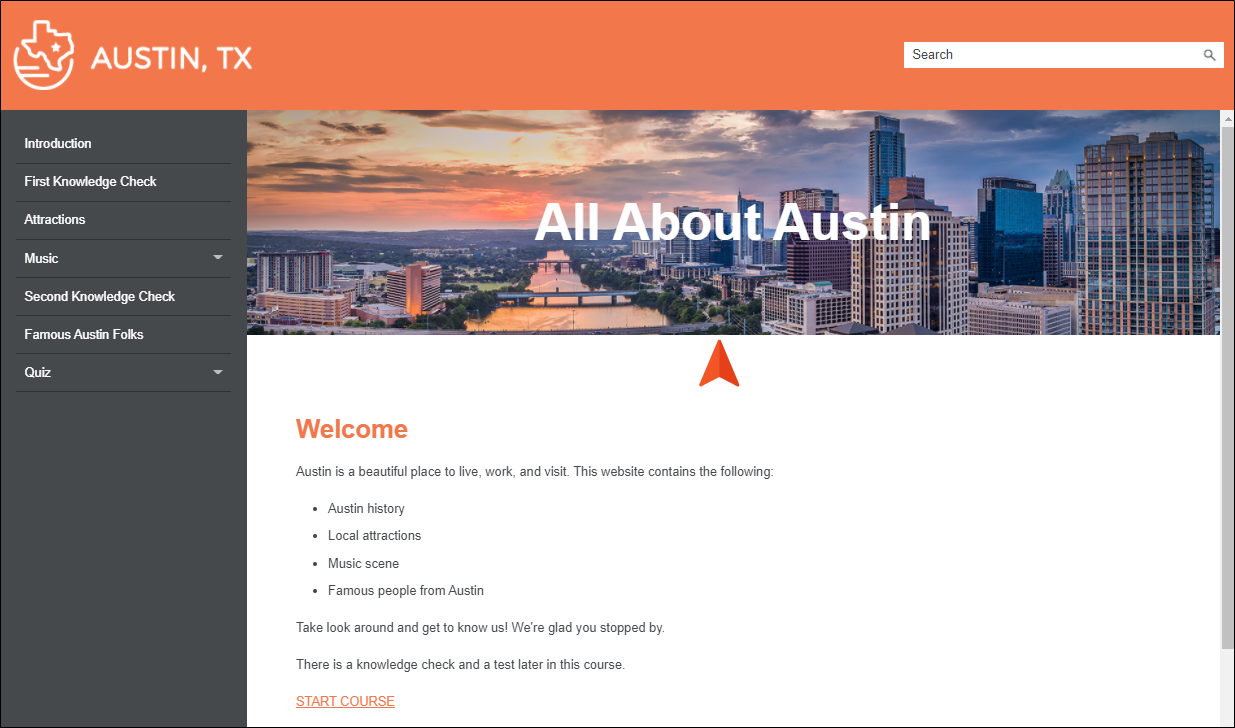
The Home topic is the first one that you see in the output, even though it wasn't included in the table of contents (TOC). That's because it was already specified as the "Startup Topic" on the General tab of the Target Editor.
Notice how this page has a different look and feel from the rest of the topics that we'll view as we progress through the course. That's because it is using a different template page.
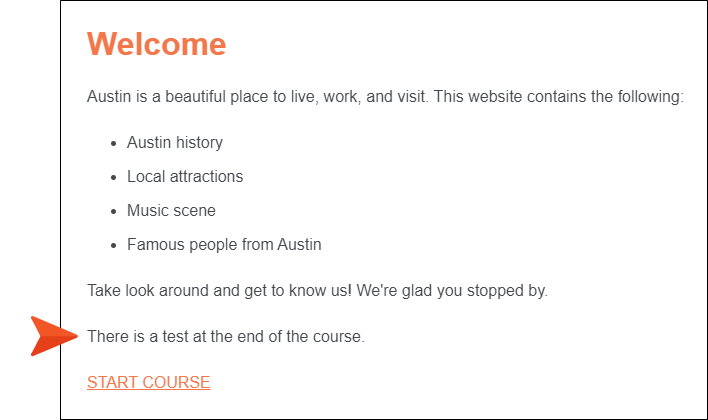
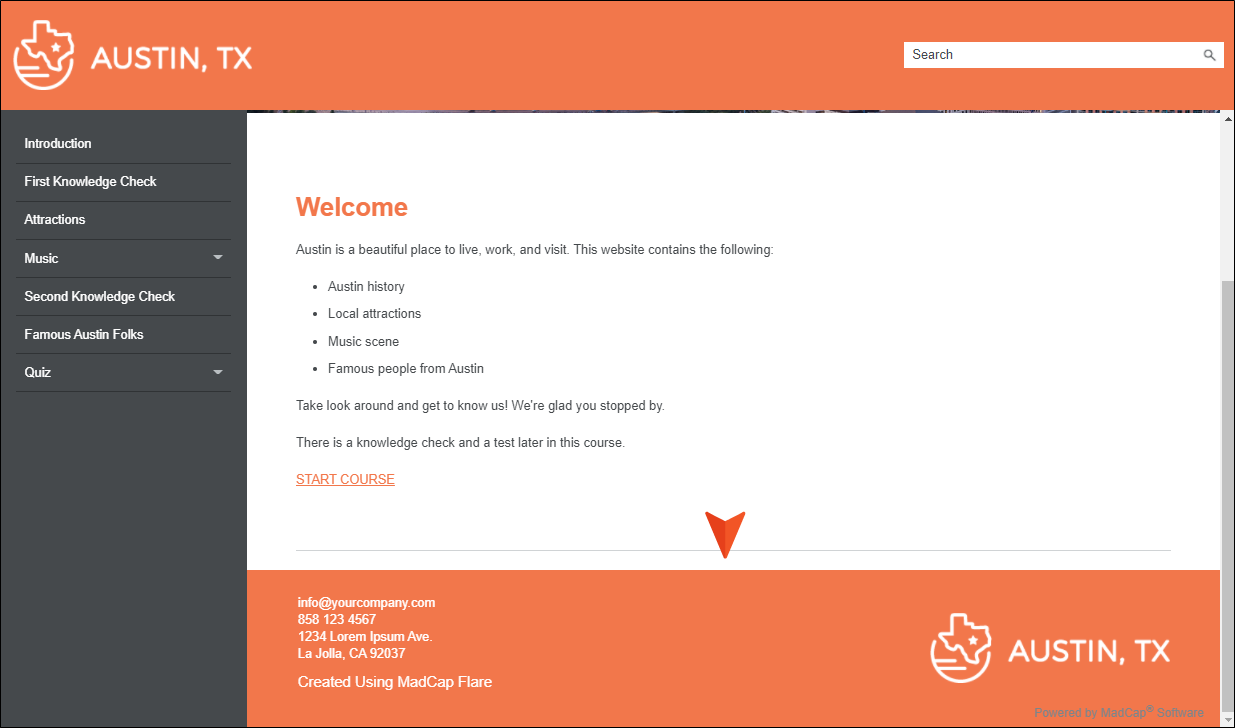
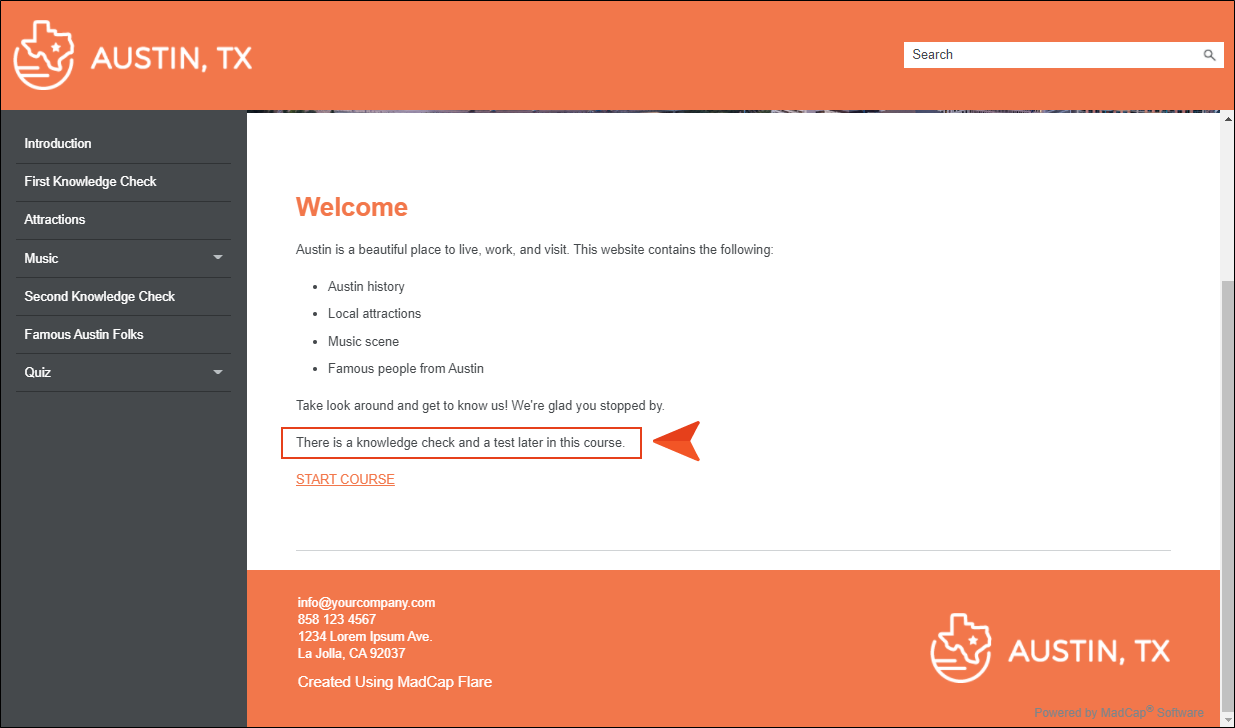
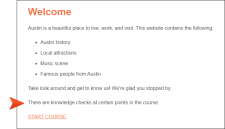
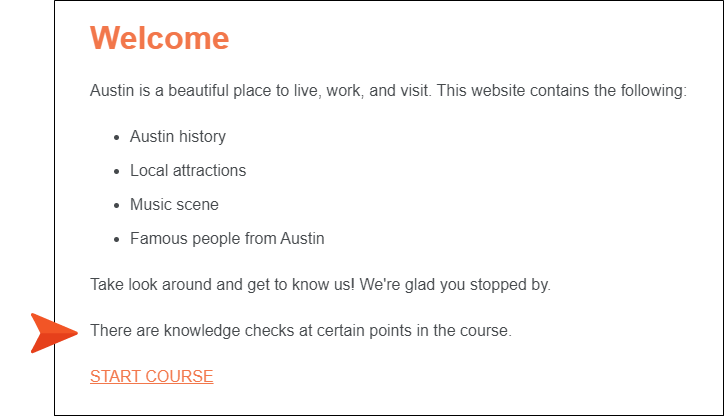
First, it has the "hero" image behind the text "All About Austin."

Second, it has a footer at the bottom of the topic with information about the company and another instance of the logo.

Third, there is no eLearning toolbar at the bottom of the text that lets you move to the next or previous topic, or see the progress of the course.
Another thing to notice is the sentence just above the START COURSE link. It says, "There is a knowledge check and a test later in this course." In the source topic, there are a couple of other sentences, but we conditioned those out of this target, while including this sentence.

-
Click the START COURSE link.
-
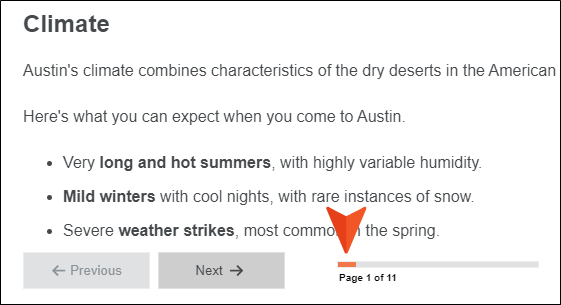
At the bottom of the topic, notice the toolbar with the buttons and progress bar. The "Previous" button is disabled because this is the first topic in the table of contents (TOC) and it is using the template page containing the eLearning Toolbar proxy. Also notice that the color in the progress bar is orange, which we edited in the skin component to match the rest of our branding.
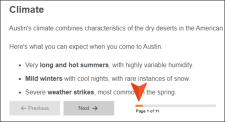
Click Next, and notice the background color of the button, which we changed in the eLearning Toolbar skin component.
-
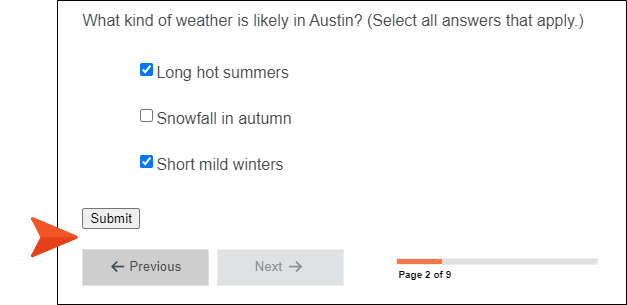
Both of the questions on this page were marked as required in the topic, so notice that the Next button at the bottom is disabled until you answer both questions and click Submit.
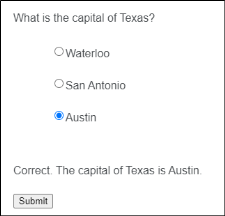
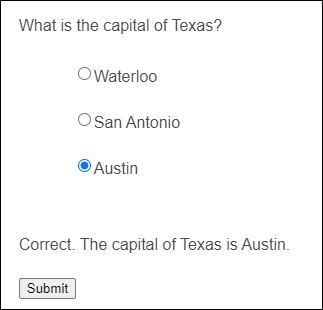
The First Knowledge Check page is shown because we included that condition in the output for this target. To refresh your memory, we had placed the "KnowledgeCheck" condition on this entry in the TOC. Choose Austin as the answer for the first question, and click Submit. The answer is correct, and the appropriate feedback displays.
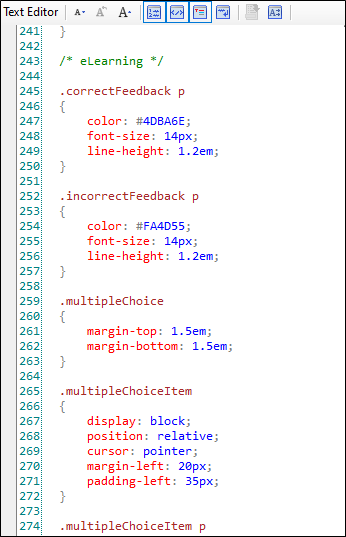
Note The color and look of the selected circle can also be customized by using styles in your regular stylesheet. We're not going to make that change in this tutorial, but if you look at the stylesheet in one of the eLearning project templates that are built in to Flare, you can see where this was done. If you open that stylesheet in the Text Editor (rather than the regular Stylesheet Editor), you will see many custom styles that were created under a section called /* eLearning */. These styles control not only the look of selected circles and squares, but other things as well, such as feedback content.

-
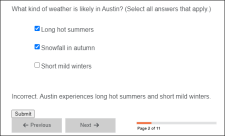
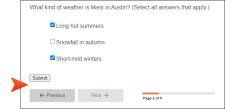
Choose Long hot summers and Snowfall in autumn as answers for the second question. Then, click Submit. Only one of those answers is correct, and the feedback indicates this.
Also, notice that the Submit button doesn't have any space between it and the toolbar below. We'll fix this in a moment by adjusting the style in the stylesheet. But for now, let's keep reviewing the output.
-
Now that you've answered both of these required questions, the Next button is enabled in the toolbar. Click Next.
-
At the bottom of the next few pages, click Next, until you get to the Second Knowledge Check. Notice that the Next button at the bottom is enabled, because we marked both of the questions in this topic as optional.
-
For each of the answers in the Second Knowledge Check, select answers and click Submit. Then, click Next.
-
On the next page, click Next.
-
Now you see the first page of the Quiz. This topic is linked to the test node in the TOC, so all of the topics that follow will be graded (because they're under the test node in the TOC). Click Next.
-
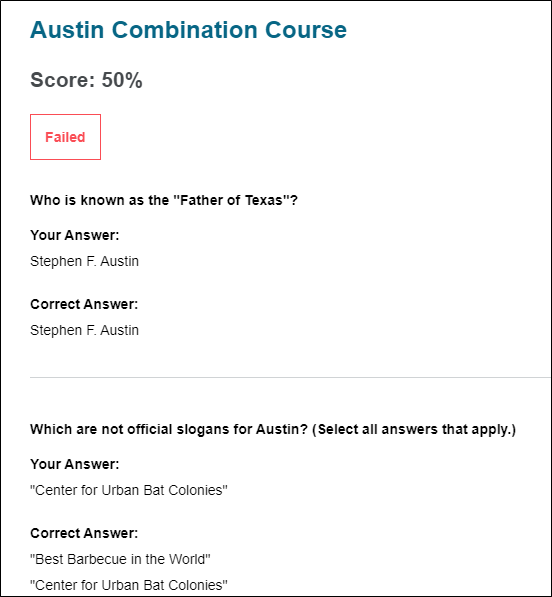
For Question 1, select Stephen F. Austin and click Next. There is no Submit button here because we do not want to show instant feedback.
-
For Question 2, select "Center for Urban Bat Colonies", and click Complete.
The test results page immediately displays. We did not create this page in the project, so Flare just used a default page. However, you have the option of creating and designing a custom search results page if you want

Note You can customize the look of the default test results page by adding a Test Results skin component to the project and modifying the styles within it. For example, if you wanted to change the text at the top to match the orange branding of the rest of the output, you would change the font color for the Title style in the Test Results Skin Editor.
Note In the knowledge check topics in this project, we included feedback text for each question, accessed instantly by learners via the Submit button that we added. Although you would not want to provide instant feedback for a gradable quiz, you can still add feedback text for each answer, just as we did with the knowledge check topics. However, by not including the Submit button at each of those locations, the feedback text would simply be displayed in the final test results.


How to Fix the Spacing for the Submit Button
Before we continue with the other outputs, let's fix the spacing (or lack of it) below the Submit button in the knowledge check topics.
-
In Flare, open the Second Knowledge Check.htm topic.
-
If your structure bars (the vertical rectangle blocks) are not shown to the left of the content, click
 in the bottom toolbar.
 -
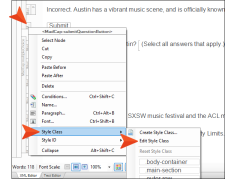
Right-click the little structure bar to the left of one of the Submit buttons, and from the context menu select Style Class > Edit Style Class.
-
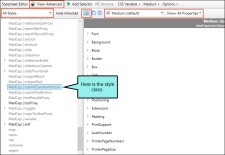
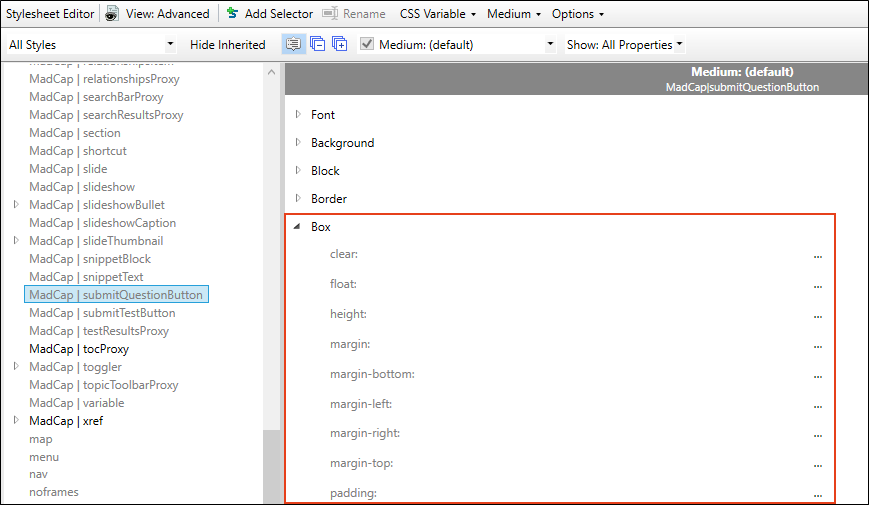
The Stylesheet Editor opens, with that style class selected automatically. Make sure the options in the Stylesheet Editor are selected as shown by the rectangles in the following image.
-
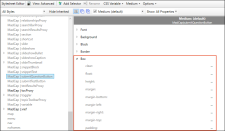
In the properties area on the right side of the editor, expand Box.
-
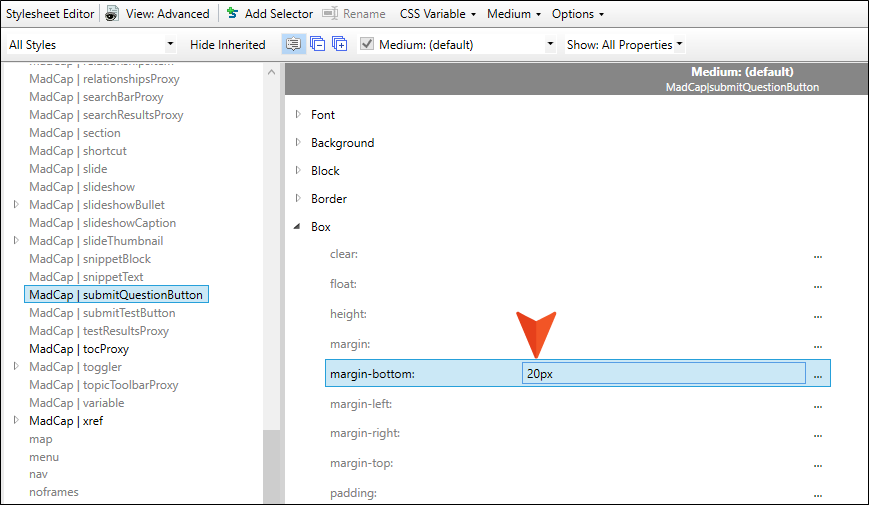
In the field to the right of margin-bottom, enter 20px, and press ENTER.

-
Click
") to save your work.
to save your work.


How to Build and View the Knowledge Check Course Output
-
Open the Knowledge-Check-Course target.
-
In the local toolbar, click Build.
-
In the Builds window pane at the bottom of Flare, double-click the row when you notice that it has finished building successfully (a dark green cell is shown).
-
In this output, you'll notice the same content, and many of the same features and design that was shown in the Combination Course output. But right away, on the Home page, you'll notice that the last paragraph before the START COURSE link is unique for this output. That's because we used a condition to include it in this output and exclude it from the other outputs.
-
Click START COURSE.
-
Just as you did in the previous output, move through the course, clicking Next and answering questions. Along the way, notice that the spacing between the Submit button and the toolbar looks better.
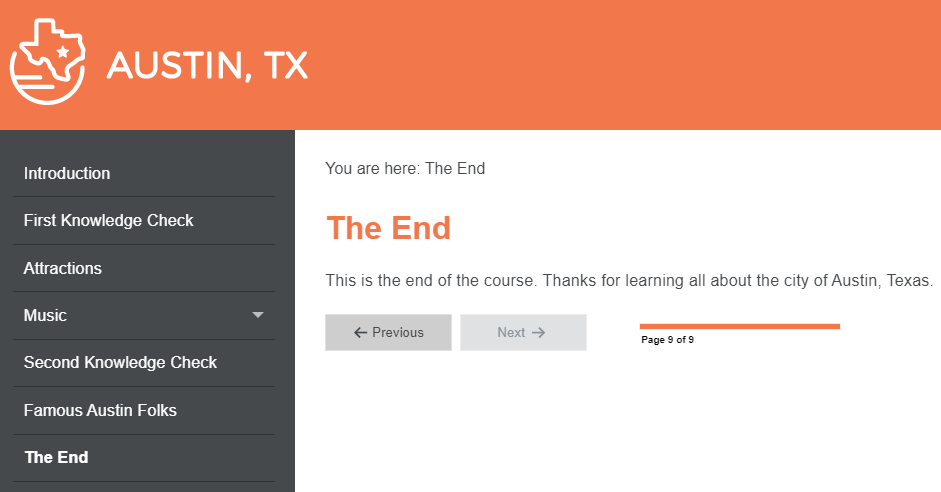
The last page of the course is called "The End."
This particular topic is linked to an entry in the TOC, which is conditioned to show in this output only. That's why you didn't see it in the Combination Course output, and you won't see it in the Test Course output either. Also, the entire test section that was seen at the end of the Combination Course is not in this course at all, because the Knowledge Check Course target excludes the condition associated with that test node in the TOC.
How to Build and View the Test Course Output
-
In Flare, open the Test-Course target.
-
In the local toolbar, click Build.
-
In the Builds window pane at the bottom of Flare, double-click the row when you notice that it has finished building successfully (a dark green cell is shown).
-
Once again, on the Home page, you'll notice that the last paragraph before the START COURSE link is unique for this output, due to the conditions that we used in the project.

-
Click START COURSE.
-
Click Next at the bottom of each page until you get to the Question 1 page.
-
Press F5 on your keyboard to refresh the page. Do this repeatedly and notice the order of the answers changes each time. That's because we told Flare to randomize the quiz answers each time the course is loaded again.
Note Pressing F5 is just a way for you to test the output in order to see the randomization. In a real quiz, learners won't need to press F5. This is just to show that the order of the answers will vary each time the quiz is launched.
-
Answer the questions on these last pages, clicking Next and then Complete, which brings you to the results page.
Notice that you did not see any knowledge check topics throughout the course, which were conditioned out of this target.